How To Climb Mount Hood
Climbing Mount Hood
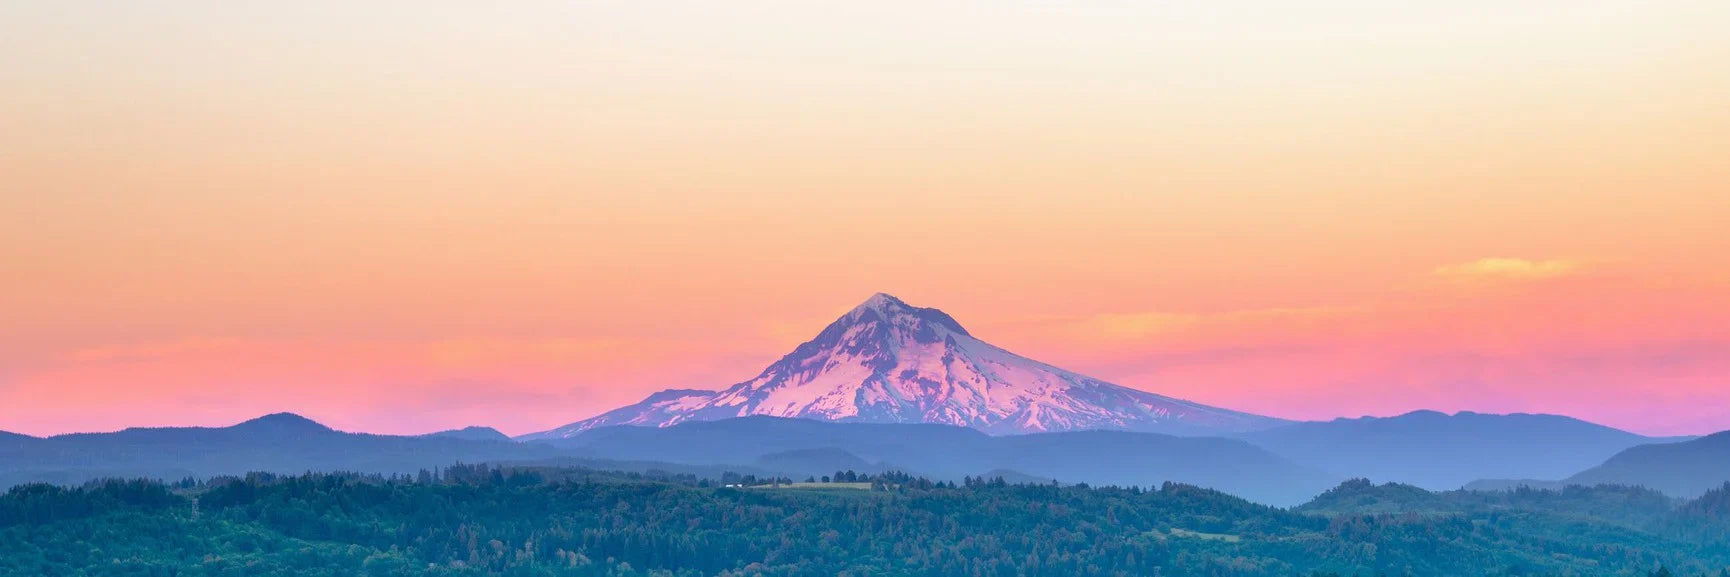
Standing at an impressive 3429m, Mount Hood’s grandeur has forever won the hearts of locals, climbers and naturalists alike. Playing an important role in the mythology of the Columbia River Multnomah Tribe and widely considered the second most popular mountain in the world, the fourth highest peak in the Cascade Range is ready for the taking, provided you follow the right advice.
From the best routes and seasons for making the ascent to the equipment and skills you’ll need, we provide all the advice you need to help you reach the peak.
Can a beginner climb Mount Hood?
With a total elevation of 11,249 feet (3,429 m), it may seem like Mount Hood is only accessible to the most experienced of climbers. However, this snow-topped peak is accessible for most — whether beginner or not. Provided they have a decent level of fitness, some basic winter climbing skills, and complete the ascent with a trusted guide, beginners will be able to summit Mount Hood. That said, it’s advised that first-timers climb the mountain in the high season (April to June) when weather conditions are at their best.
Take a quick trip to gaze upon this snow-capped peak from the calm waters of Trillium Lake. With the right conditions, the mountain will reflect perfectly in the waters when viewed from the southernmost point of the lake. Romantic and beguiling, this vantage point makes the perfect start to an ascent of Mount Hood. Take stock for a moment in the full majesty of what you’re about to achieve. If you can, set up camp here the day before and swap tales of the mountain before your climb the next day. When ready, drive over to Timberline Lodge and start your ascent to the heavens.
What skills and equipment do you need to climb Mount Hood?
As the mountain is snow-topped and icy all year round, climbers need equipment and skills for dealing with these conditions. It’s recommended to take a winter mountaineering course before your ascent. This will ensure you can stay safe regardless of conditions. At the very least, you’ll need to be comfortable using the following equipment:
Crampons:
Bound tightly to your mountain boots, crampons are a necessity for ascending and descending iced pathways, steep terrain, and low-snow routes. With large spikes underfoot, they help provide grip in otherwise slippy environments. It’s important that when you place your foot, you ensure all spikes engage with the ground for maximum traction.
Ice Axe:
An iconic symbol of mountaineering, ice axes are used to help maintain balance and, in more hazardous circumstances, self-arrest. This simply means to stop you from falling if you slip on icy terrain. They’re also used for probing, cutting and a host of other mountaineering purposes.
Climbing Ropes:
Not always necessary for a climb of Mount Hood but it’s worth being aware of how they work in case your party decides they’re necessary. Be aware that climbing ropes differ from general rope. They’re a set of two dynamic ropes connected from climber to climber to help prevent fatal falls. They can also be used in a tighter fashion to help lift any baggage up steep pathways or cliff faces.
Snowshoes:
In the colder seasons, Mount Hood can reach up to 20 inches of snow per week. Snowshoes are required here to ensure your weight is distributed as widely as possible. This will help prevent you from falling too deep into the snow with each step.
Other useful equipment:
- Sunglasses
- Helmet
- Gloves
- Hardshell jacket
- Softshell trousers
- Food & water
- Emergency kits
- Emergency beacon
Potential mountain hazards:
Since records began in 2002, 130 people have died on Mount Hood, averaging just under 7 per year. Portland Mountain Rescue undertakes around 15 missions per year to rescue people in danger. It’s therefore safe to say that Mount Hood does come with an element of risk and care must be taken. Whilst choosing the right equipment, the best route, and ascending with experienced climbers mitigates risk, it’s worth being aware of the most common hazards on the mountain:
Avalanche:
A mass of snow, ice and rock that slides down a mountainside. Ensure your party has considered avalanche conditions before climbing. Mountainshop.net state:
“For winter season climbs, avalanche conditions may always be a concern. After any new snowfall in the spring and summer (with good stability in the existing snowpack) there needs to be 3-4 days with a combination of temperatures above freezing and sun radiation during the day, followed by temperatures below freezing at night, to minimize avalanche risk of avalanches. Shorten that timeline to 36-48 hours if there has been significant rainfall all the way to the top of the mountain.”
Rock and ice fall:
Most common during Spring & Summer, rock & ice can be set loose by sunlight warming the ground. Even during winter, bright sun can be enough to melt ice and displace rocks. Therefore, it’s recommended to be off the peak before 1pm to mitigate the risk. At this time, the ground will be at its warmest and most dangerous. Climbing helmets are clearly important, especially the higher up the mountain you get.
Glacial features:
Glaciers are moving bodies of ice which can transform a landscape. Features sculpted by ice include shaped valleys, hanging valleys, cirques, horns, and aretes. Each of these offers its own hazards and risks so it’s important to ensure your route avoids these where possible and that the more experienced in your group are able to provide the right advice should you stumble across one.
Glissading:
Glissading is the act of sliding down a steep slope with the use of an ice axe for control and self-arresting. Unless you have experience it’s important to avoid this way of descending. However, glissading can also refer to times when it’s accidental. Using crampons and your ice axe properly can help prevent this. Similarly, ensuring you’re properly hydrated and energized helps prevent falls as you’re more alert and responsive.
For up to date climbing and weather reports, check out the US Department of Agriculture’s Mount Hood report.
What month is best to summit Mount Hood?
Attempts to summit Mount Hood are most often achieved between April and June. That’s because snowfall, risk of avalanche, and rock fall are all least likely during this period.
July through to September shows a slight increase in hazards, while October through to March sees heightened snowfall and a range of conditions that only seasoned climbers should be looking to engage with.
To enjoy the mountain in as much solitude as possible, consider climbing midweek as weekends are rather popular.
What is the best route to the summit of Mount Hood?
The South Side route is considered the best route to the summit of Mount Hood. Out of all the Cascade Range mountain routes, this line requires the least amount of technical skill and is one of the most accessible, whatever your level of climbing ability.
South Side Route:
The majority of climbers take this route as most of the route can be considered a hike as opposed to a climb. There are several rather steep sections so a decent level of fitness is required but it isn’t until the final 1000 metres before climbing ability is required. For this reason, the route remains the most simple of all Mount Hood’s pathways to the summit.
Begin at the Timberline Lodge carpark (5,924 ft) and head North towards the snow bank. You should easily find a worn path which you can follow up to Palmer Lift House at the top of the Timberline Ski Area.
If you struggle to find the path or visibility is limited, follow the Magic Mile Ski Lift which can be found 100 yards west of the Timberline Lodge.
Continue on the main climber’s route or by following the ski lifts and you’ll pass the Silcox Warming Hut (7016 ft) and then Palmer Snow Field (8,540 ft).
From Palmer Snow Field and beyond, you’ll no longer have the luxury of following the ski lifts and will therefore need to rely on navigation. Heading North from the lift house, you’ll take the route to Crater Rock before traversing the Hogsback, a ridge which connects Crater Rock to the rim of the summit. At this point, you’ll need to put on your crampons and be prepared to use your ice axe for balance and to self-arrest if you slip.
Now the route has started to become more challenging, it’s wise to be fully prepared. Here’s what Mountainshop.net state in terms of safely continuing the climb from the Hogsback ridge:
“Most conditioned climbers can reach Crater Rock safely in good weather, regardless of experience or ability. Beyond Crater Rock is the “crux” of the climb. Here all members of a team should be familiar with the use of crampons and ice axes, know how to self—arrest, be comfortable with crevasse rescue techniques and know how to travel on a rope team. Experience, assessment of the condtions/terrain and good judgment will tell you if traveling on a rope team is necessary. If you don’t have these skills you have no business going further without a guide or experienced team with you!”
From the Hogsback Ridge, the ascent will meet the horizontal crevasse known as the Bergschrund. Here, you’ll need to assess conditions and choose the right route to the summit.
Most direct is the Pearly Gates but dependent on conditions you may be best choosing the Old Chute.
The Pearly Gates:
From the Hogsback ridge, take the right fork and you’ll be faced with a narrow passage to the summit. This is the most direct route and requires less down—climbing (coming back on yourself to find a route to higher ground). But do be aware, that the Pearly Gates can be dangerous as with a narrower chute to summit than the Old Chute, ice fall and congestion can be more common.
Additionally, this route often has greater levels of ice than the Old Chute line to the top of Mount Hood. Again, be sure to discuss with your group leader or fellow climbers the best route, taking into account weather conditions, avalanche risk and all the other necessary factors.
The Old Chute:
From the Hogsback ridge, take the left fork for the Old Chute and you’ll quickly come across the route to the summit. Here’s Outdoorproject.com’s advice on summiting Mount Hood via the Old Chute:
“Traverse to the west [from Hogsback Ridge] up the more popular Old Chute. In late season the bergschrund (horizontal crevasse) opens up, forcing climbers up Old Chute. The climb becomes technical as the slope reaches 40 degrees, at which point many climbers opt to rope up for safety. A strong push up the icy chute and along the snow-covered ridge leads to the heart-stopping panoramic views; you'll see Mount Adams, Mount Rainier, Mount St. Helens, Mount Jefferson, the Three Sisters, and Timberline Lodge below. Exhaustion is mitigated as the thrill of reaching the summit energizes even the most fatigued climber.”
Other routes to Mount Hood summit:
For those with substantial climbing experience, there are plenty of other routes to the top of Mount Hood. Be aware that these will require more equipment and skill than the South Side Route.
- North Face Right Gully
- Leuthold Couloir
- Sandy Glacier Headwall
- Cooper Spur
- Devil's Kitchen Headwall
- West Crater Rim Route (WCR)
- Ravine
- Sunshine Route
- Reid Glacier Headwall
- Steel Cliff South Face
- Yocum Ridge
- Black Spider - Fric - Amos
- Eliot Glacier Headwall
- Wy'East
Check out Mountainproject.com for more information on each route.
Is Mount Hood harder than Mount Rainier?
No. Mount Hood is generally considered one of the easier mountains to ascend within the Cascade Range. Nearly all climbers take the standard South Side Route. Up until the last 1000 meters, you simply need to be able to walk.
Granted, there’s a lot of elevation so fitness is necessary but no real technical skills are needed. The final 1000 meters are a little more technical but compared to Mount Rainier, much less ability is needed to reach the summit.
Is Mount Hood really a volcano?
Yes. Technically, it’s deemed a “stratovolcano" which simply means the volcano is of a conical shape and is built up of layers of solidified lava and tephra.
The last eruption was in the late 19th century. 1865, to be precise. As a potentially active volcano, there is the potential that Mt Hood will erupt again but experts consider Mount St Helens the more likely Cascade Range volcano to erupt in our lifetimes.
The verdict
Mount Hood is accessible for climbers of all experience. However, care, attention, and basic mountaineering skills are required.
Despite being the second most climbed mountain in the world, the ascension of Mount Hood will forever remain a fond memory and product achievement.
It’s imperative you have basic mountaineering skills to reach the summit as the final 1000 meters are slightly technical. It’s best tackled in late spring, or early summer as conditions are best at this time. Ensure you have checked local weather reports and conditions, planning your trip to avoid avalanches, rock fall and any other hazards as best possible.
But with the right safety measures in place, the views from the peak are unbeatable and more than worth the trip. Good luck and climb safe!
 Adventure5 min readNational Parks Across the Cascade RangeRead post
 Adventure11 min readThe Cascade Volcanic ArcRead post
 Adventure4 min readHow To Hike The Cascade PassRead post
 Adventure6 min readVisiting Swayambhu Mahachaitya, the Monkey TempleRead post
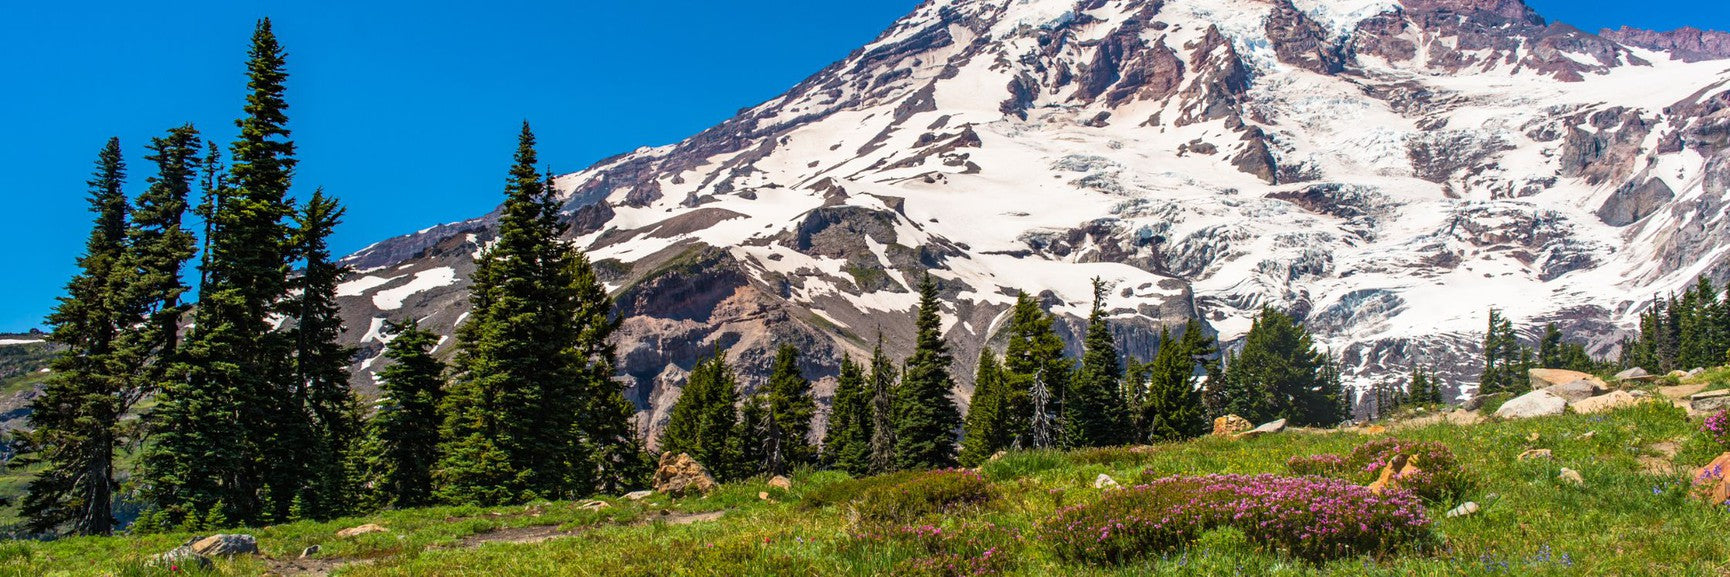 Adventure10 min readHow To Climb Mount RainierRead post
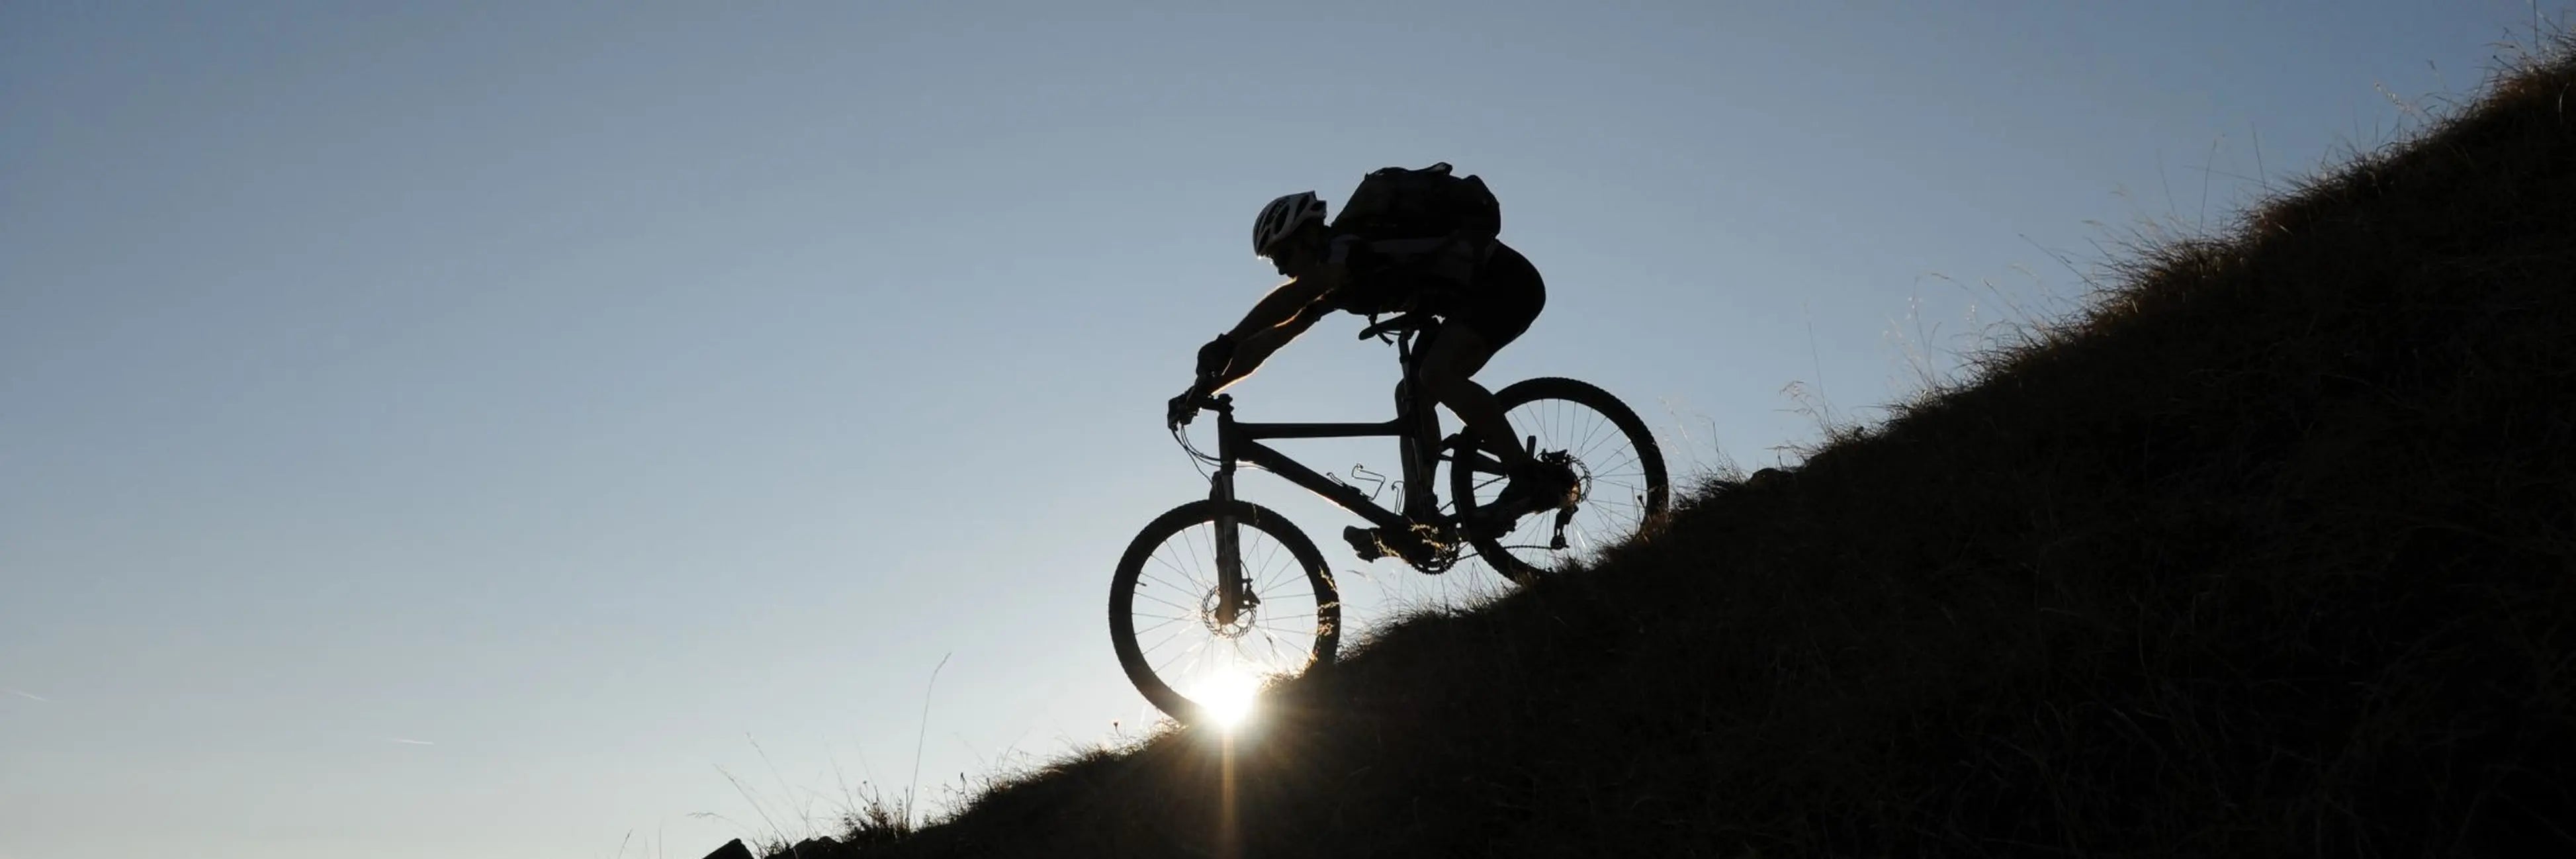 Adventure5 min readMountain Biking in the Cascade RangeRead post
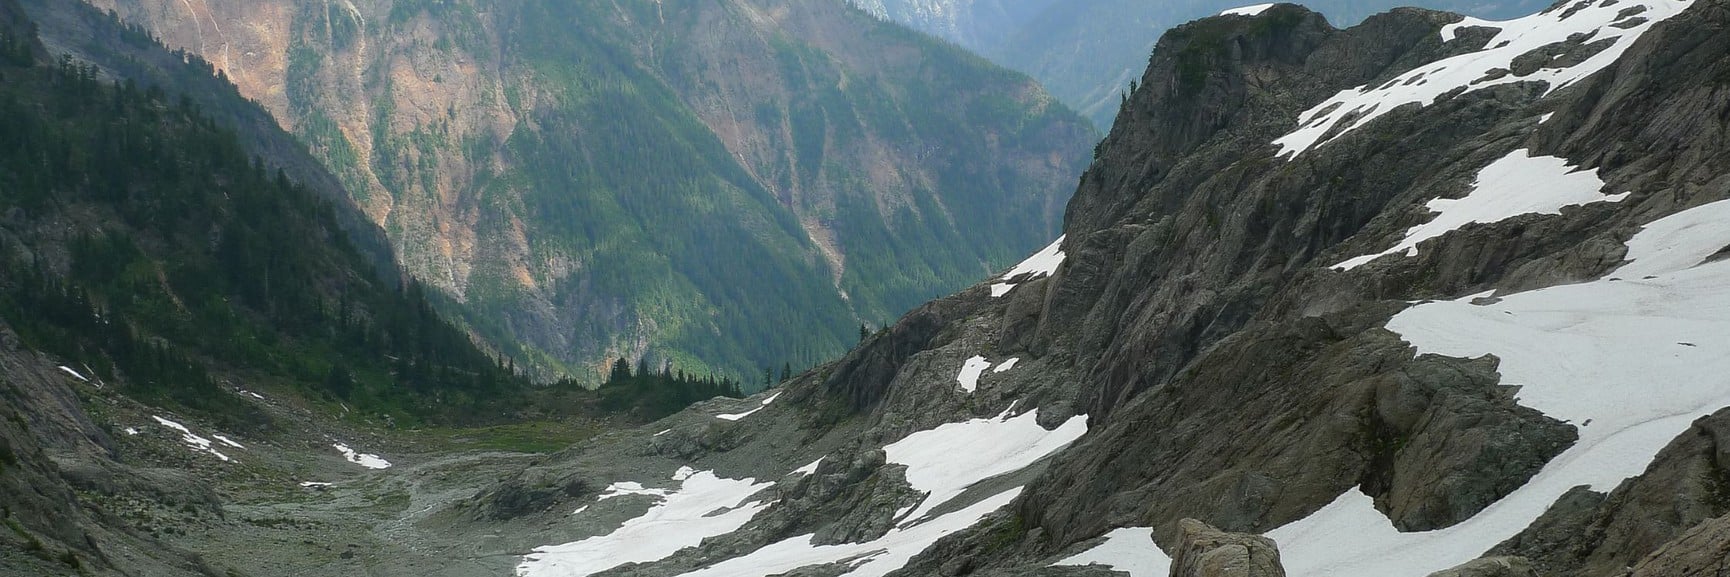 Adventure21 min readThe Cascade RangeRead post


